-
Cardboard Witches Cottage
How to design and build a cardboard dolls House.
I was inspired to build a cardboard dolls house by Ara at Bentley House Minis on Youtube. I wanted to build a witches country cottage complete with garden and greenhouse. I am going for a wonky plaster covered cottage with no straight lines just rustic charm.
I started by sketching out a basic design, I wanted to keep the main structure it simple with just three main rooms, a kitchen downstairs then on the first floor a living room and a bedroom in the attic. I intend to add onto this house over time but I thought this was a good starting design.
I started by gluing two large pieces of cardboard together with the grain in opposite directions for strength. I left it to completely dry weighted under heavy books to reduce warping. Once the cardboard was dry I started to cut out the walls, floor and roof.
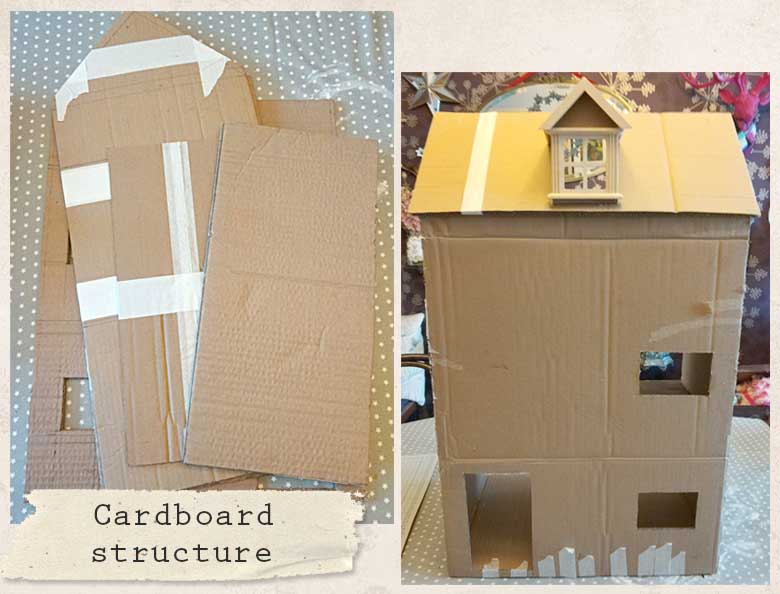
I set the walls and roof pieces aside to work on the floors first. I wanted a slate effect floor in the kitchen and wooden floorboards in the bedroom and living room. I decided to make the floors first as it is easier to work on them before they are in the house.
The Kitchen Floor.
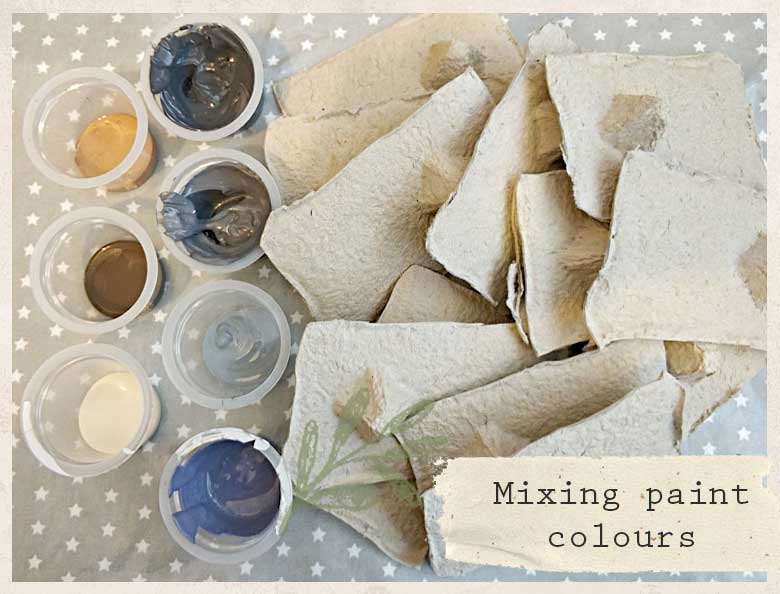
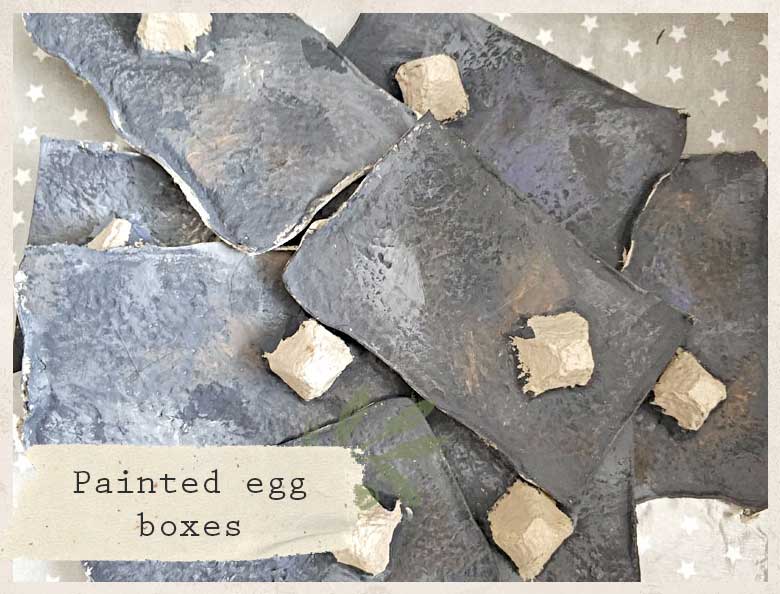
I made the floor tiles from egg boxes as the texture was perfect for a stone floor. I prepped the egg boxes by painting them in shades of grey, grey/blue, brown, beige and cream. I painted them totally randomly without really thinking about it. The cream and light grey I dry brushed on to reveal the lovely texture.

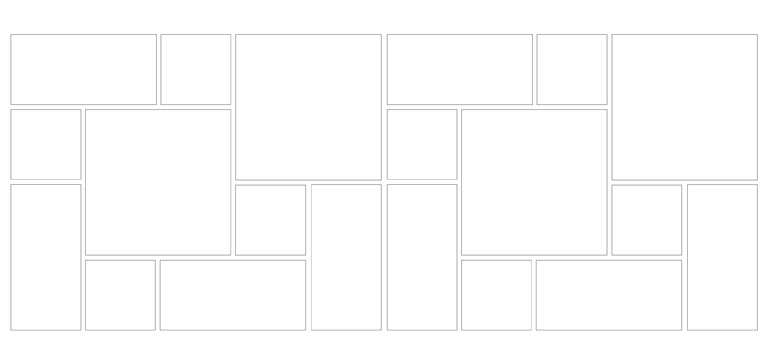
I thought it would make my life easier if I created a template of the repeat pattern for the floor tiles rather than trying to make the tiles fit the floor space as I went along. I created three different sized tiles in 1:12th scale a large one, small one and a long tile and made a pattern which could be repeated over the whole floor. If you would like to download my floor tile pattern template simply click on the download button below.
I glued the tiles down with wood glue for a good contact and adhersion. Once the glue was dry I covered all the tiles with mod podge to seal them in. This was an very important step as I intended to grout the tiles with poly filler and I wanted to be able to wipe off the excess grout without damaging my tiles.
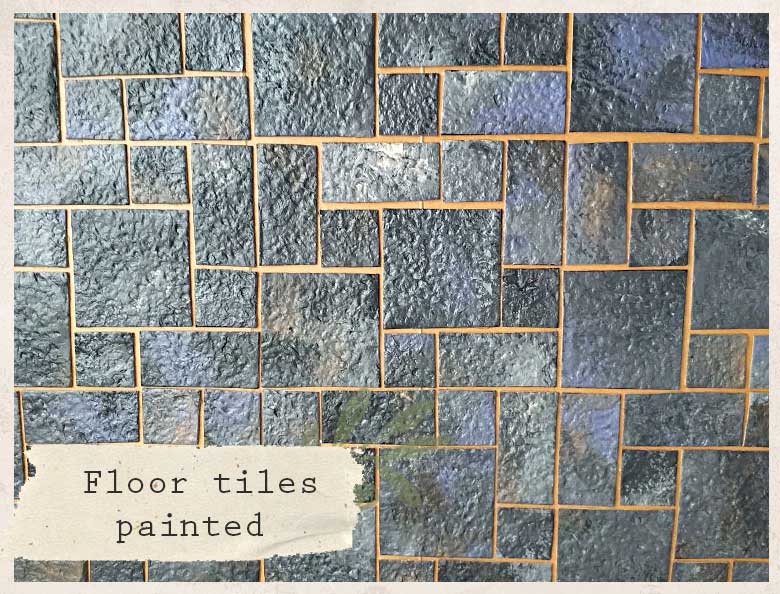
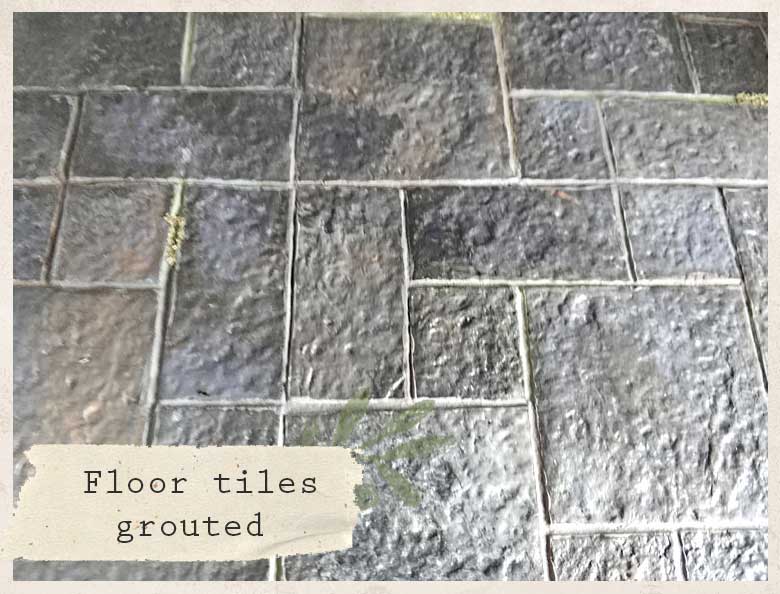
The grout was applied with a small palette knife and the excess wiped off with a damp cloth, once it was dry I painted it light grey and aged it up wth moss green paint and moss flocking.
I am so pleased with this floor it turned out just as I had hoped. In the next post I will show how I made the wooden floors for the bedroom and living room.