-
Adding Wooden Beams
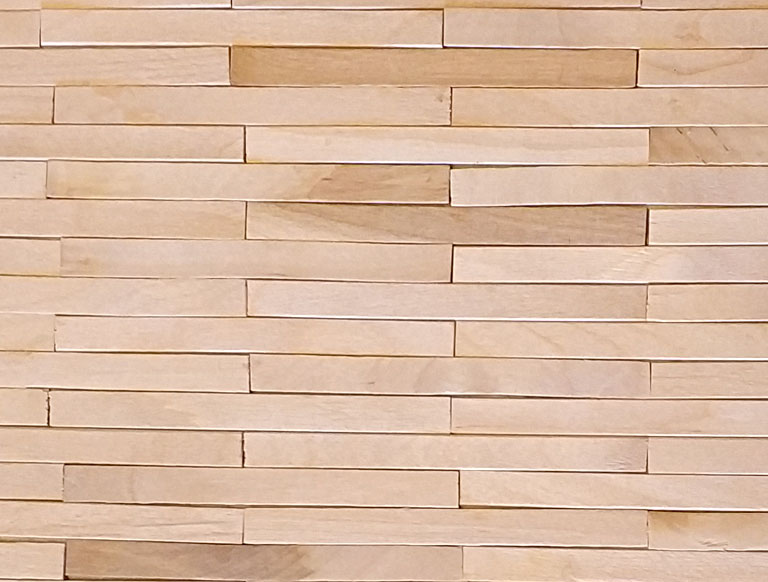
I wanted to add details to the attic bedroom ceiling so I added wooden beams. This both added extra interest to the ceiling and also reinforced the roof ready for when I add roof tiles.
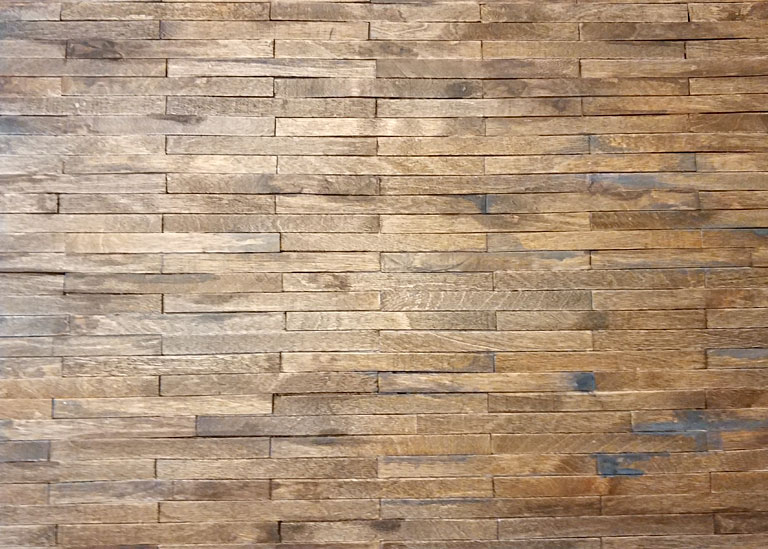
I used square wooden doweling which I cut to size and also I wittled to make the wood look worn and old. I stained them to match the wooden floors and glued them in place with wood glue.
Wooden beams before painting. 
Wooden beams after painting. Once the beams had dried in place I aged the ceiling around them so they looked like they had been there for centuries.
-
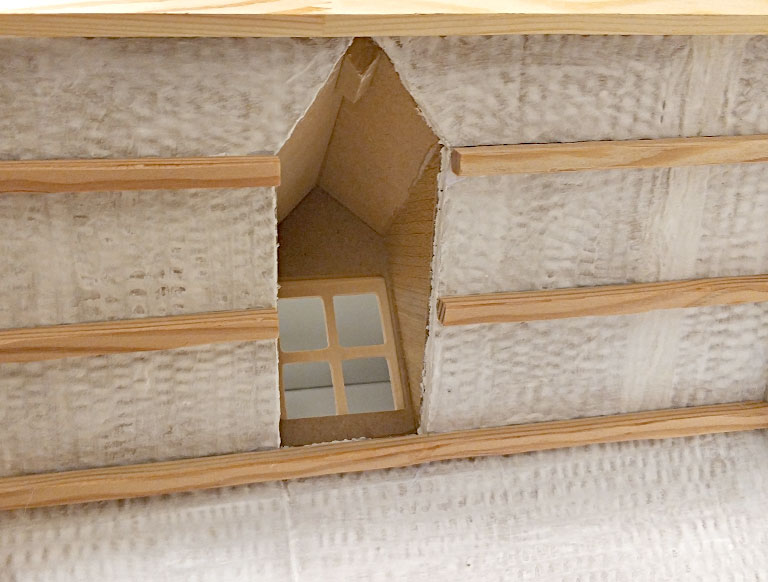
Installing The Wooden Floors
Once the lollipop stick floors were dry, I positioned them into place and glued them with wood glue. The front edges needed to be neated so I filled them with ready mixed filler to resemble plaster. I then aged them with watered down brown acrylic paint as I wanted them to look old and worn. The floors are supported underneath with small wooden beams.

Wooden floors glued into place. -
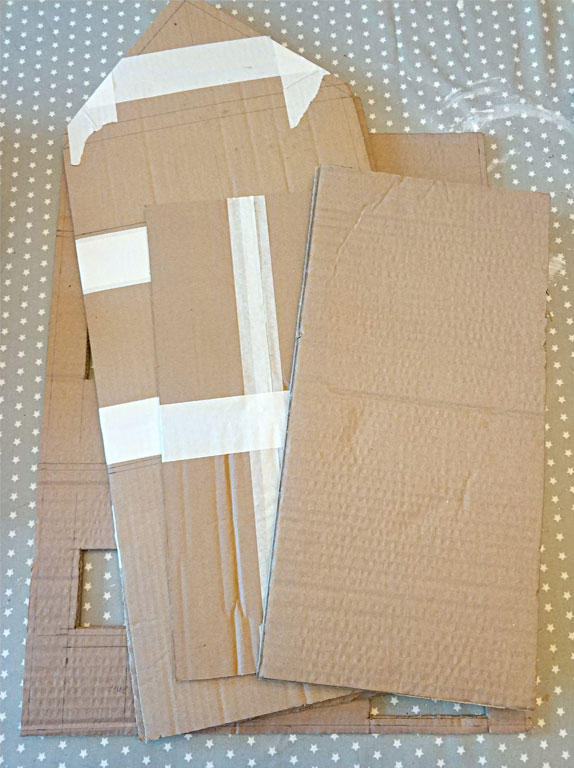
Cardboard Witches Cottage.
-
Cardboard Witches Cottage
-
Painting Lundby Frames
-
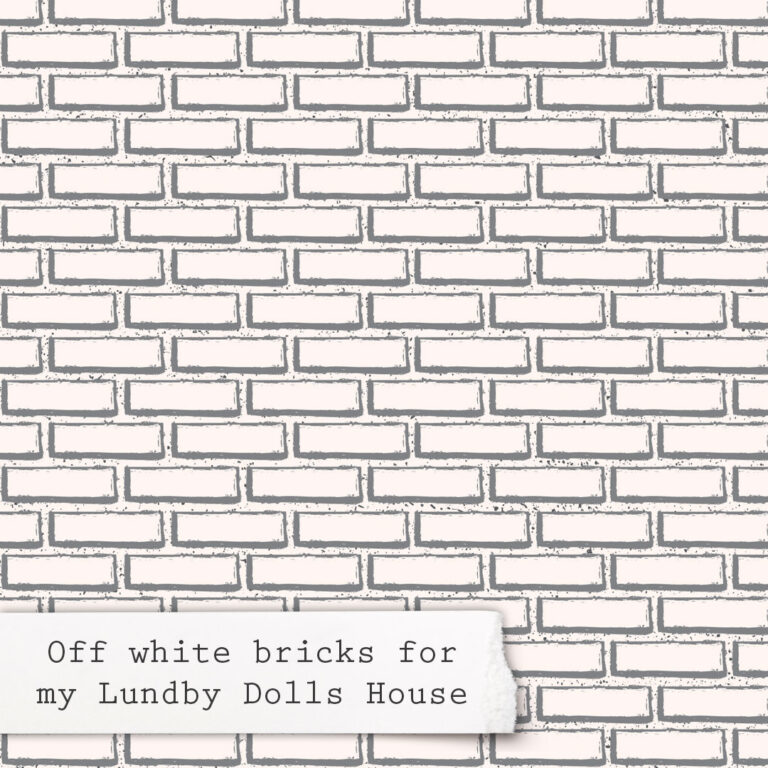
Retro Brick Paper
Printable Brick Paper.
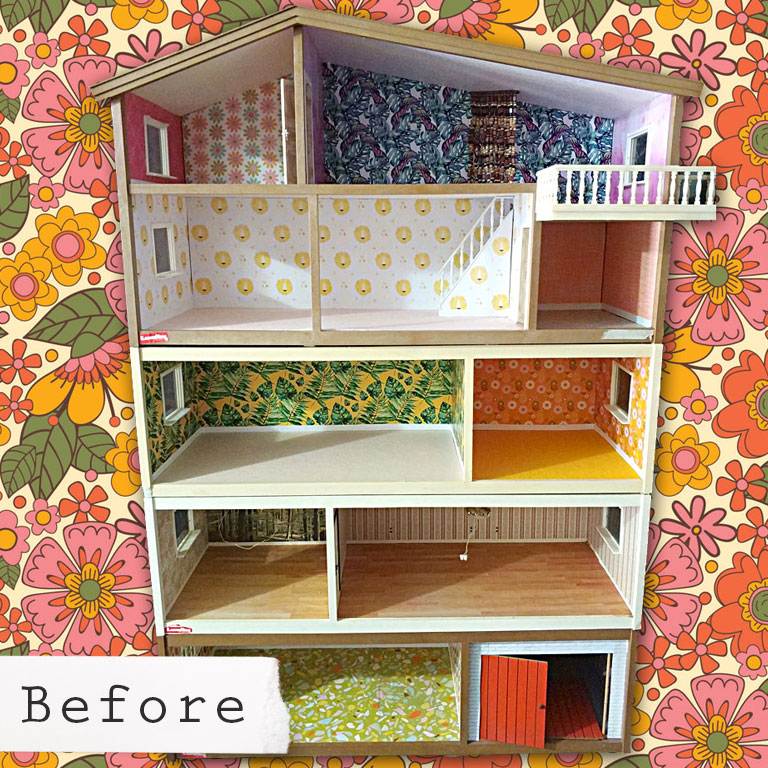
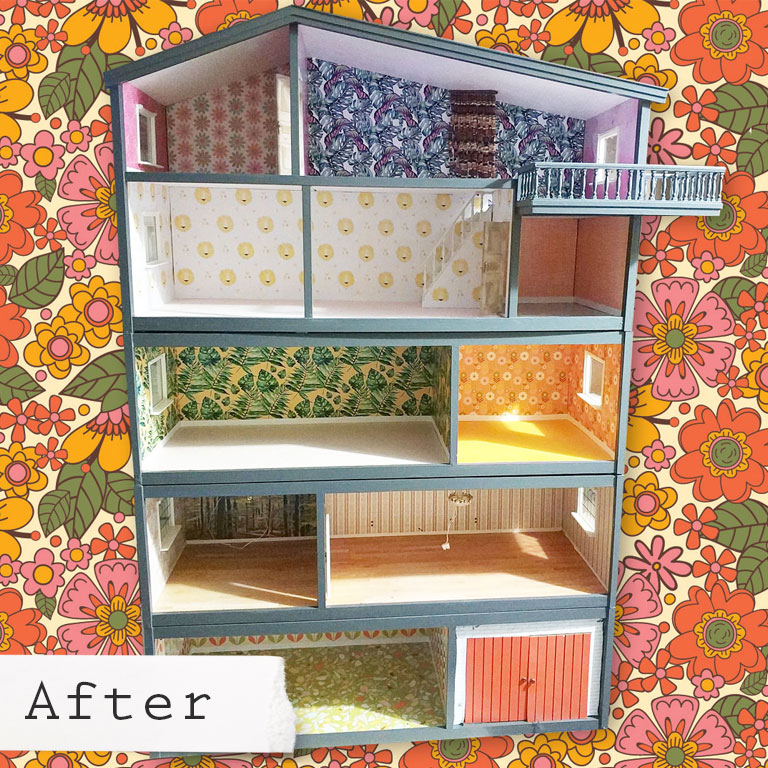
The levels on my Lundby tower were all different ages and as a result they were all various brick colours due to fading over the decades. So in order to solve this I decided to design a brick paper to update my tower and give a cohesive look. I have designed a brick pattern with an off white background colour with a mid tone grey brick and speckled mortar. I am very happy with the results, it gives a fresh look while retaining the retro vibe.
Here is the result, what do you think?
Freebie!
If you would like to update your dolls house you can download this brick paper here completely free of charge. Simply click on the button below.