-
Adding Wooden Beams
I wanted to add details to the attic bedroom ceiling so I added wooden beams. This both added extra interest to the ceiling and also reinforced the roof ready for when I add roof tiles.
I used square wooden doweling which I cut to size and also I wittled to make the wood look worn and old. I stained them to match the wooden floors and glued them in place with wood glue.
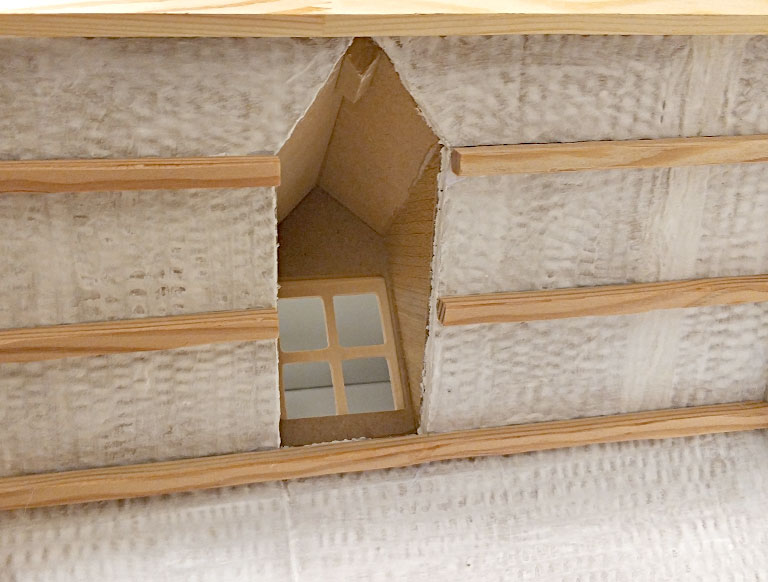
Wooden beams before painting. 
Wooden beams after painting. Once the beams had dried in place I aged the ceiling around them so they looked like they had been there for centuries.
-
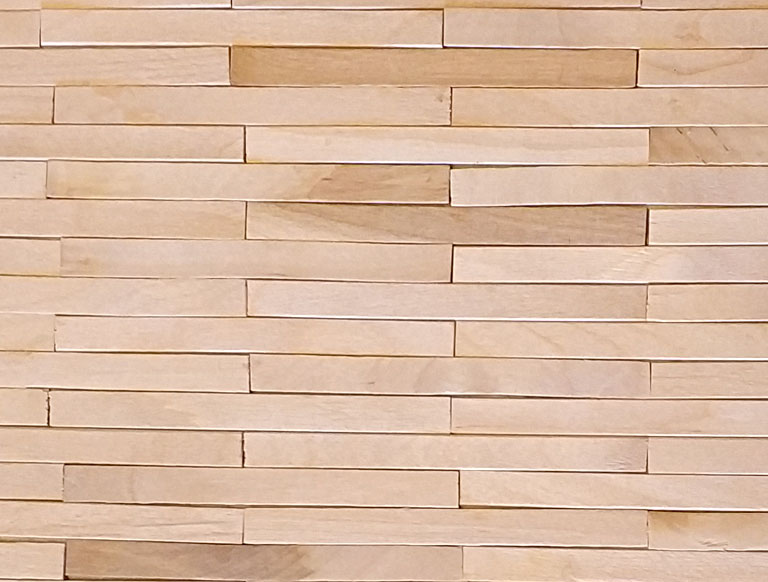
Installing The Wooden Floors
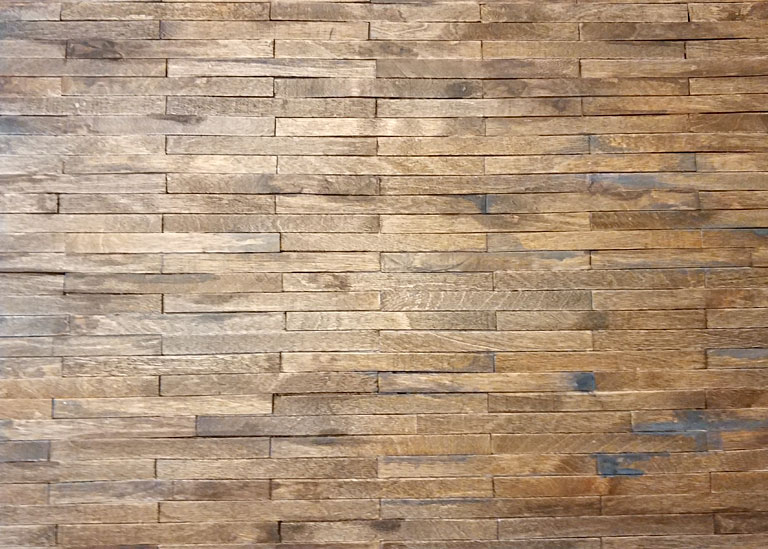
Once the lollipop stick floors were dry, I positioned them into place and glued them with wood glue. The front edges needed to be neated so I filled them with ready mixed filler to resemble plaster. I then aged them with watered down brown acrylic paint as I wanted them to look old and worn. The floors are supported underneath with small wooden beams.

Wooden floors glued into place. -
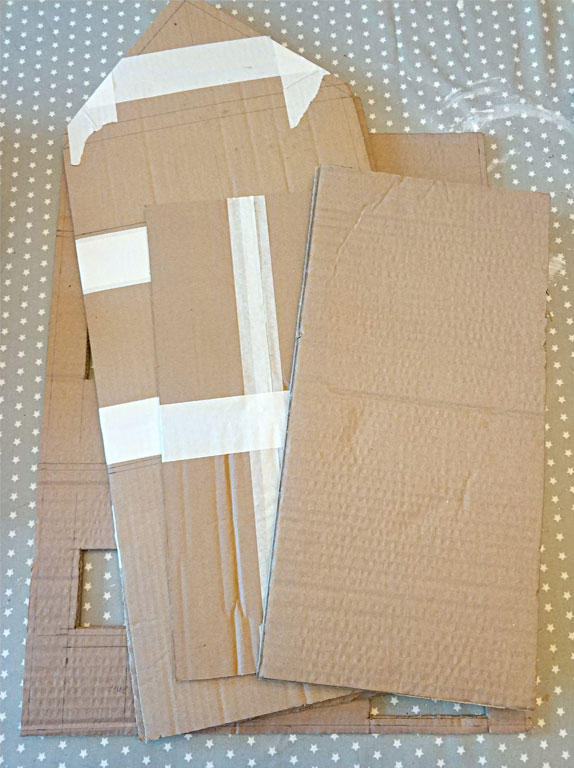
Cardboard Witches Cottage.
-
Cardboard Witches Cottage