-
Extending The Mouse Manor
How I extended the Mouse Manor
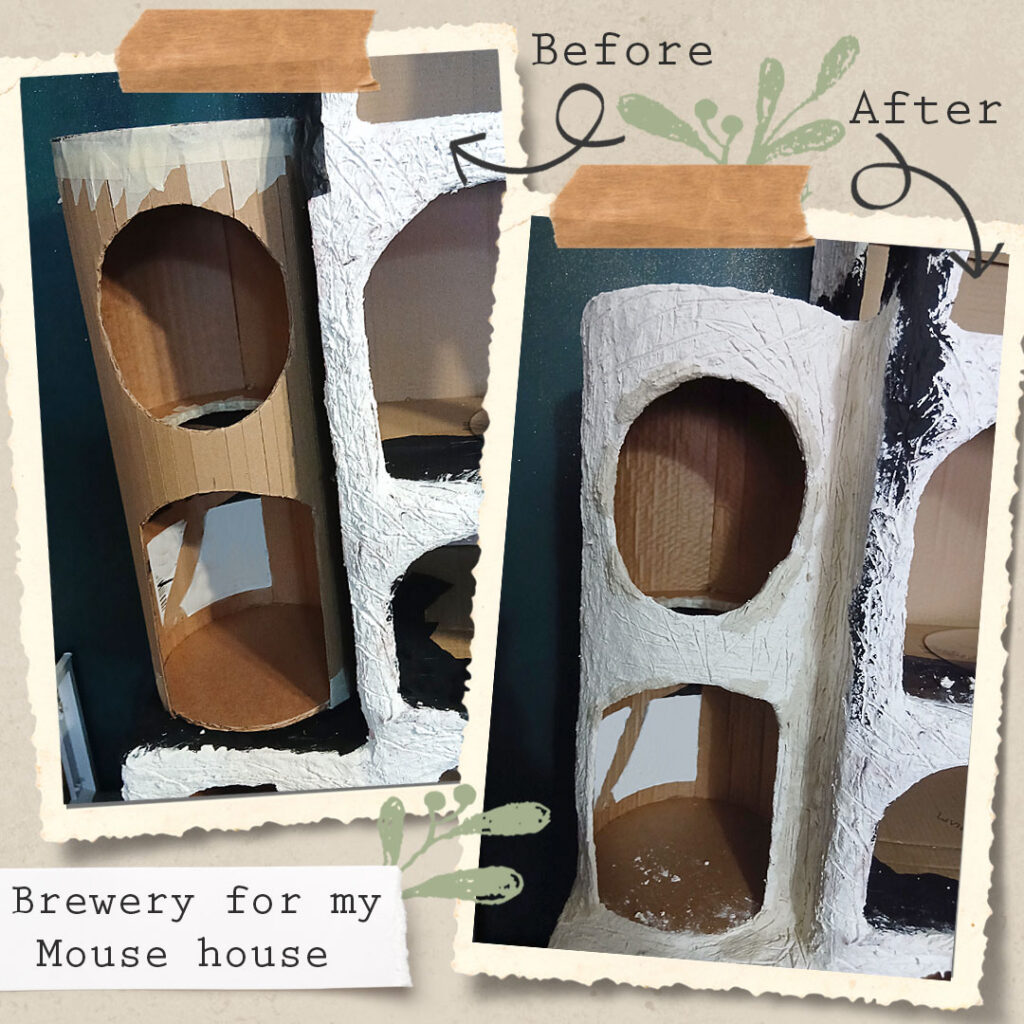
I really wasn’t happy with the left hand side of the Mouse Manor so I decided to add a tower which would contain the brewery and have a patio on the roof. I created a cylinder from a piece of cardboard by cutting slits half way through the thickness of the cardboard to enable me to curve the cardboard smoothly. I divided the cylinder to create two rooms, one for the main brewery and the top floor for storage of the brew.
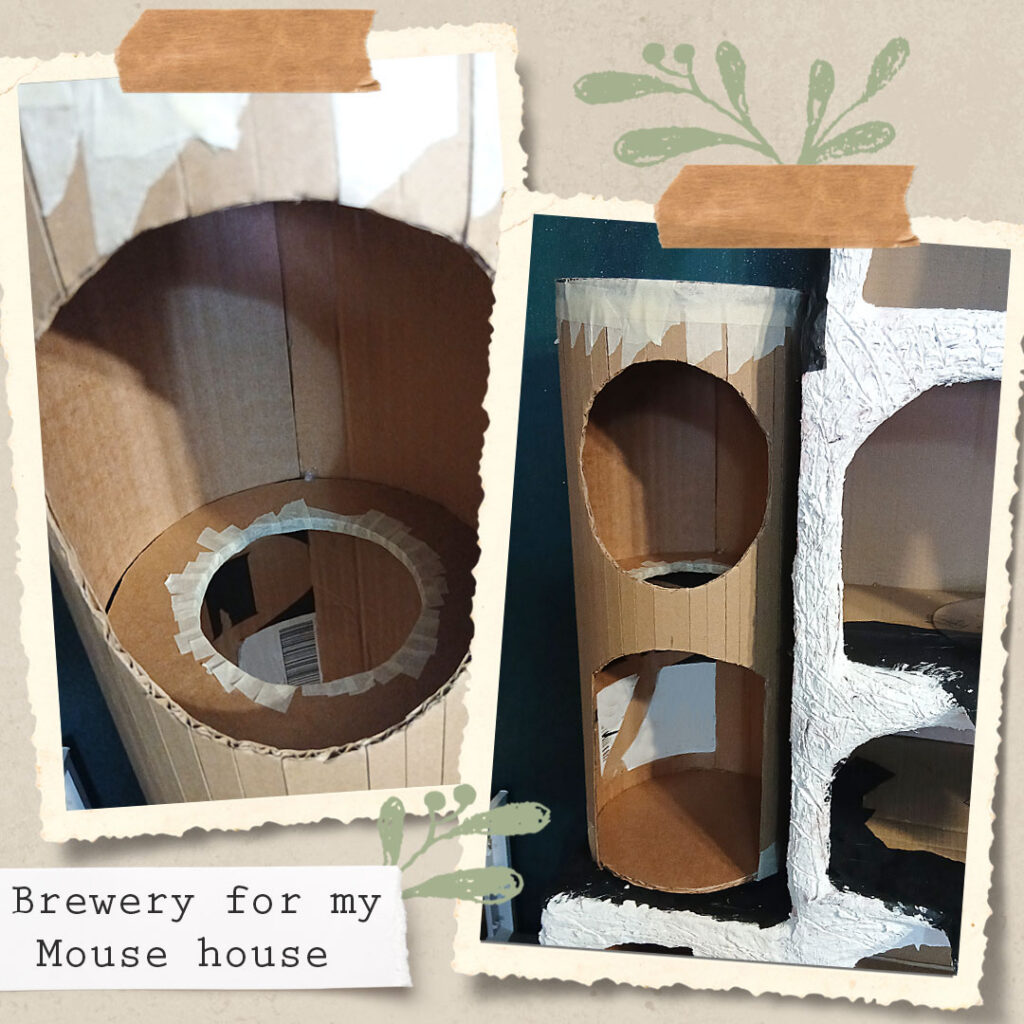

I then covered it in the same paper mache mixture as the Mouse Manor so it blends in seamlessly with the rest of the build.

-
Adding Bark to the Mouse Manor
Preparation for adding bark to the Mouse Manor
Once I created the shape of main structure with kitchen foil and masking tape I then covered the whole of the outside of the house in a layer of black tissue paper. I glued the tissue down with watered down pva glue and then gave the tissue a layer of the glue mixture on top to make it extra strong. This created a good base for the paper mache bark layer.
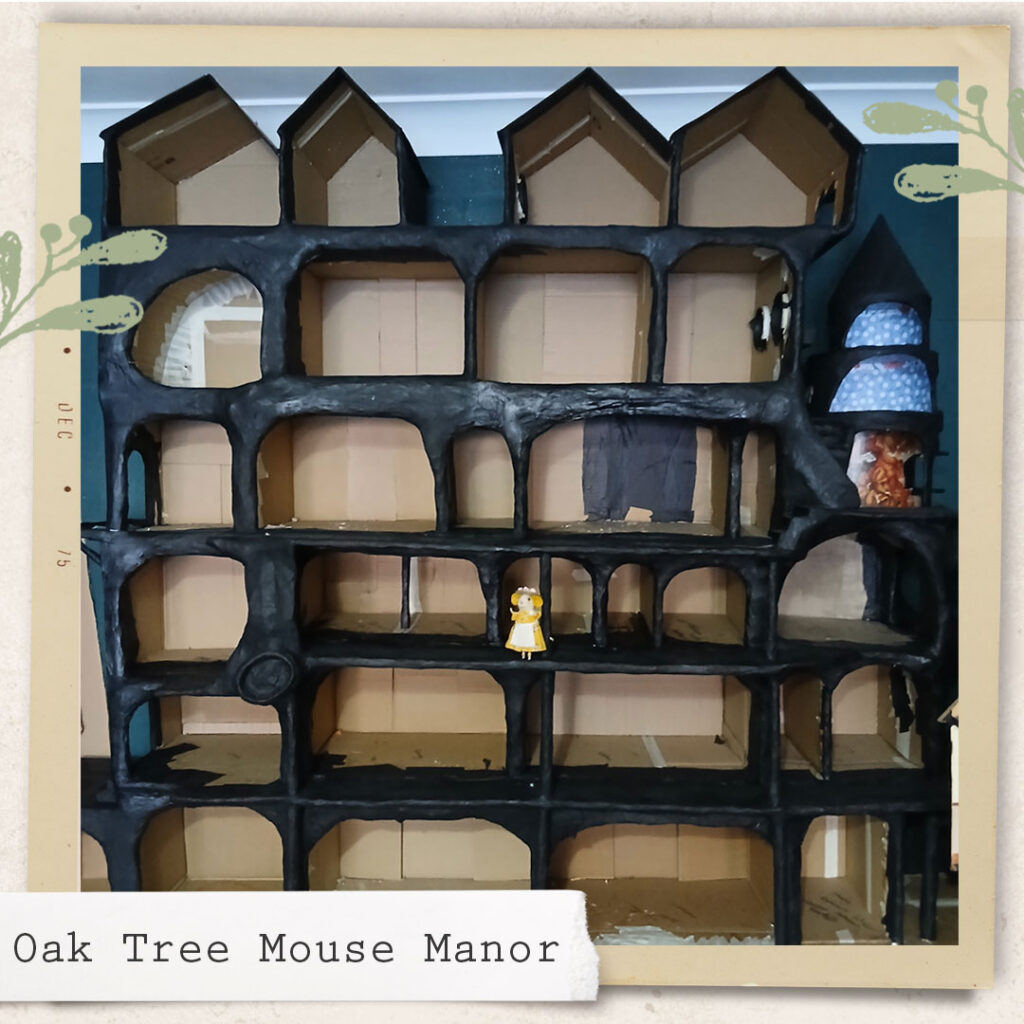
The next stage was to cover the mouse house with a thick layer of paper mache, I scored bark texture into the paper mache with a plastic palette knife.
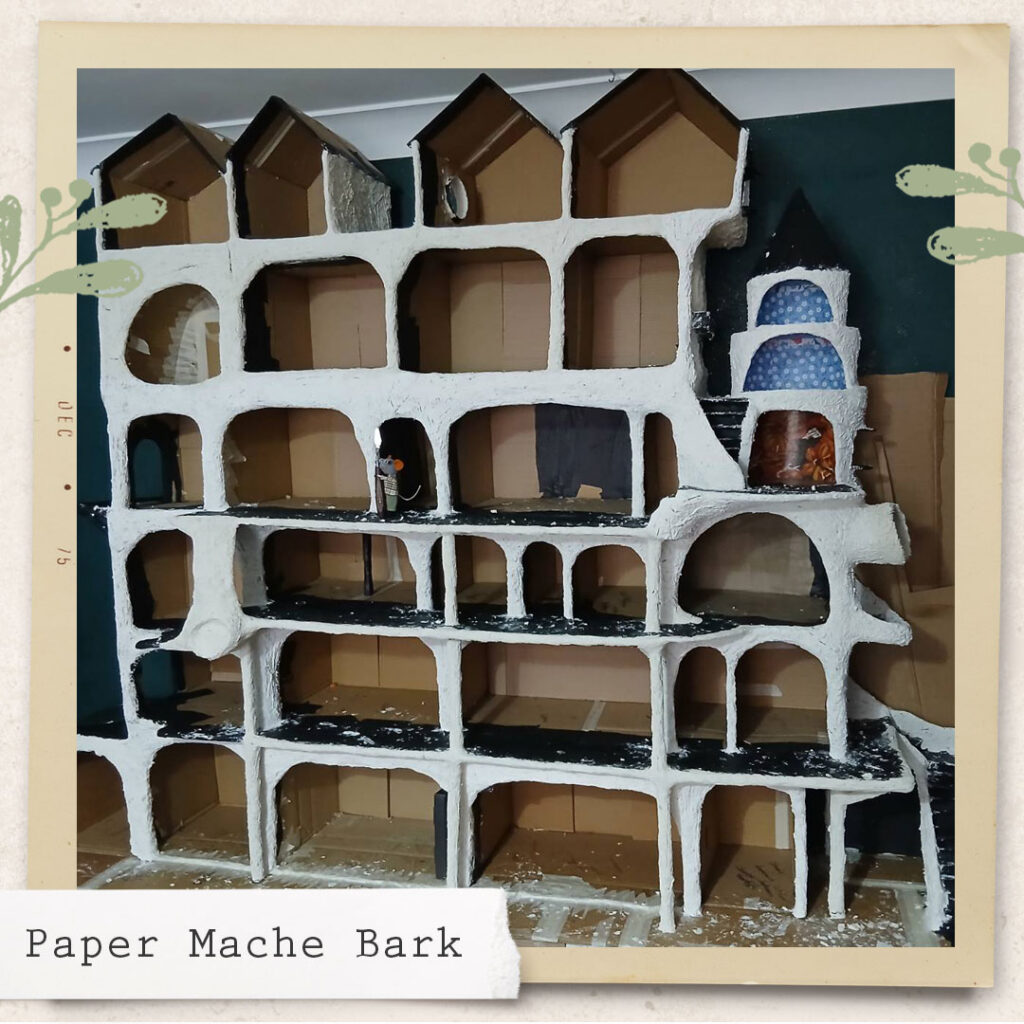
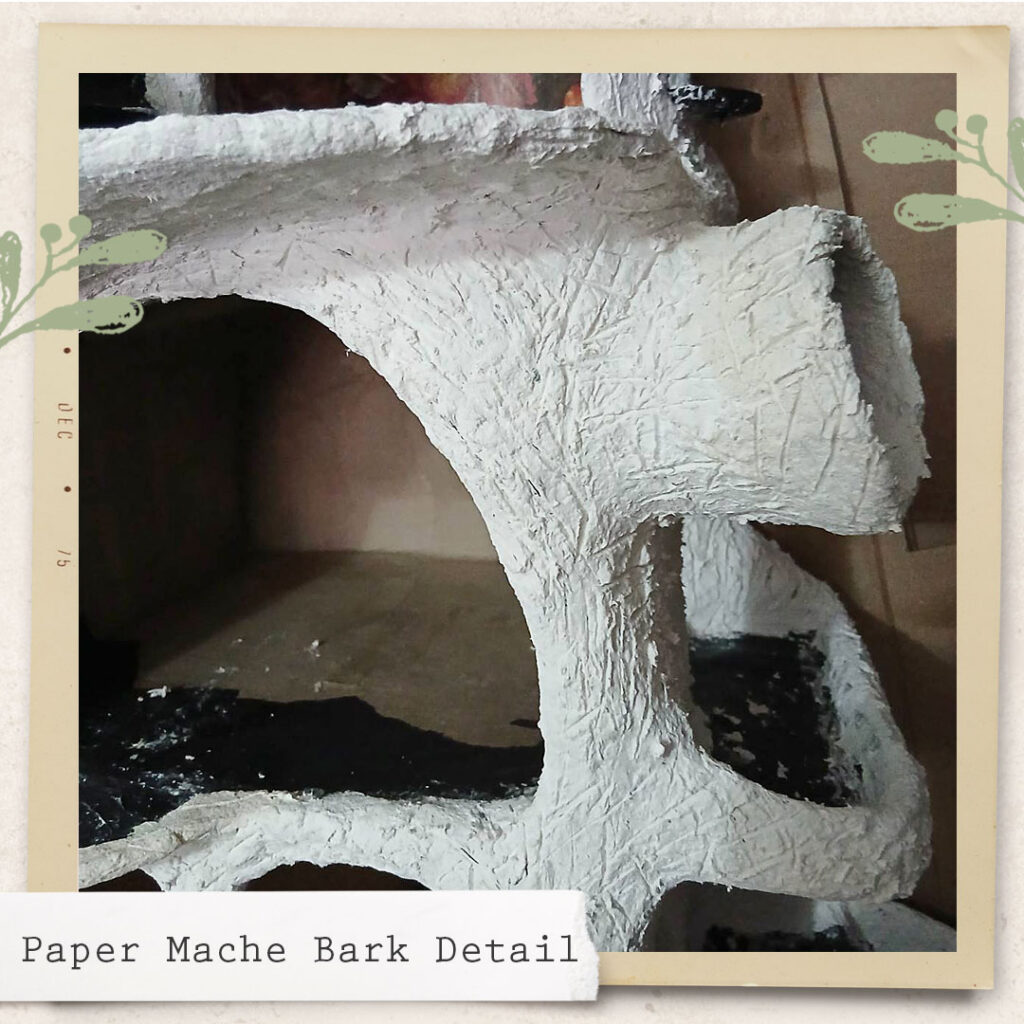
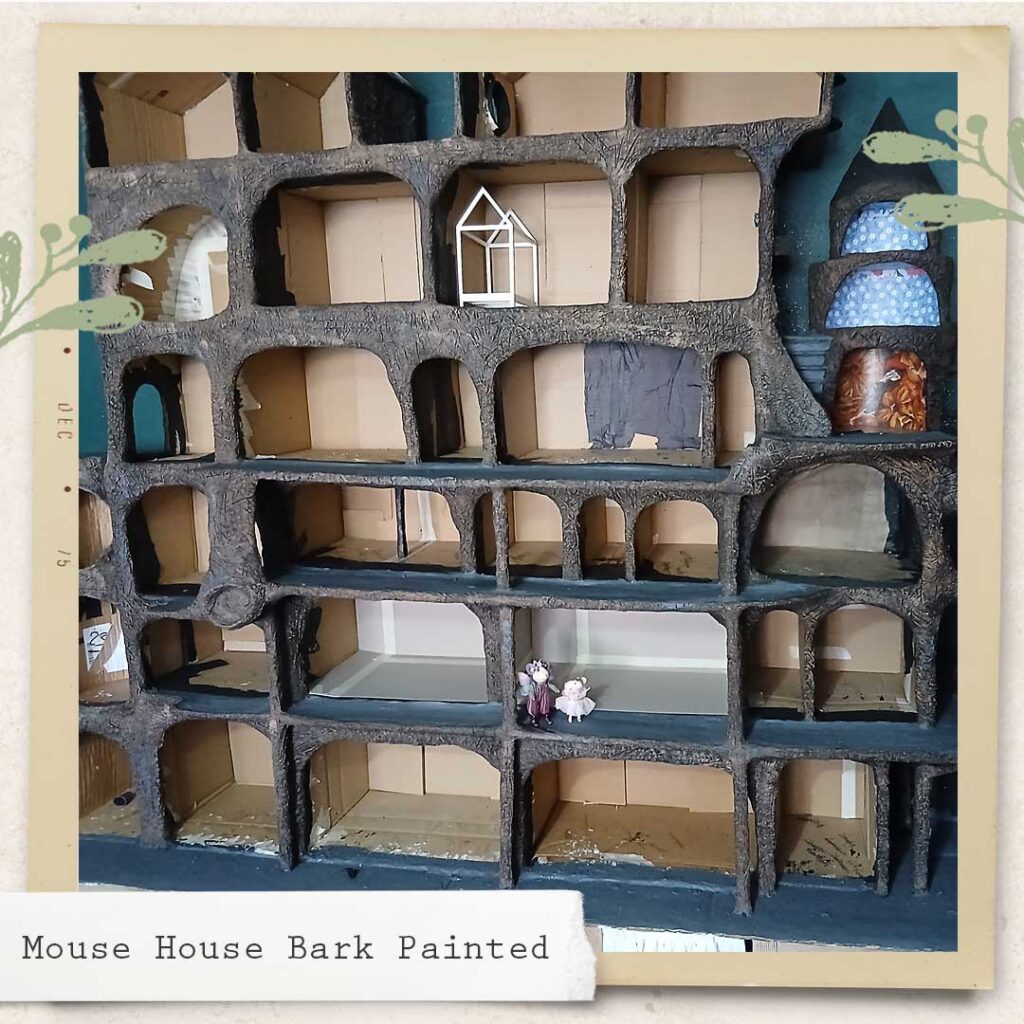
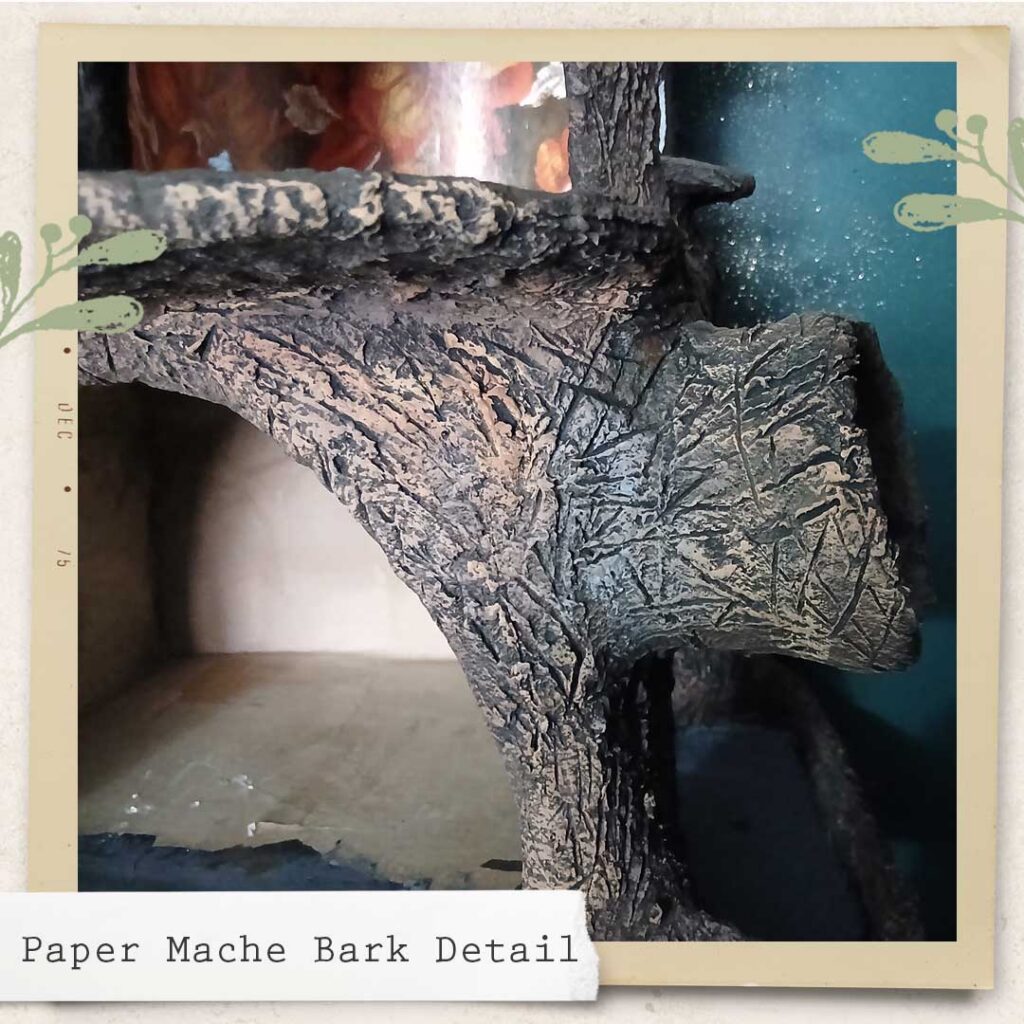
Once the paper mache was dry I then gave the whole house a coat of black acrylic paint as a base for the bark colour. I then painted a layer of burnt umber acrylic paint over the black paint, I allowed some of the black paint to show through to create depth. I then dry brushed a lighter brown and a beige colour over the top.
-
Oak Tree Mouse Manor
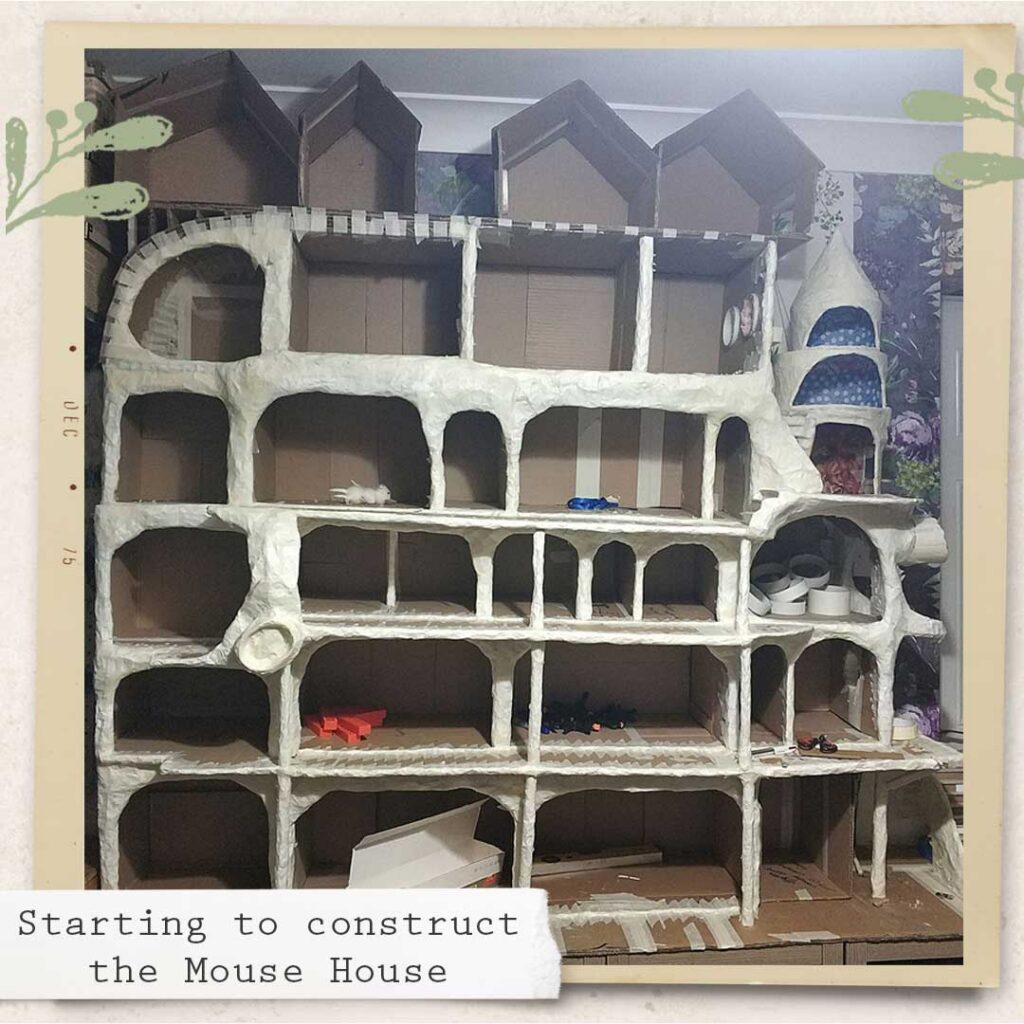
Starting a new build from cardboard and everyday items
Phase one of my brand new build a large Mouse Manor constructed from boxes, kitchen foil, masking tape and paper mache. I have wanted to build a mouse house for a long long time ever since I discovered Where the Gnomes Live on Youtube and the Mouse Mansion in Amsterdam.
This will be my take on a mouse house. It will consist of living accommodation, a garden, balconies, a pub, brewery, post office, apothecary and shops on the ground floor.
-
Creating a Realistic Plaster Effect
How to mix and apply dolls house plaster.
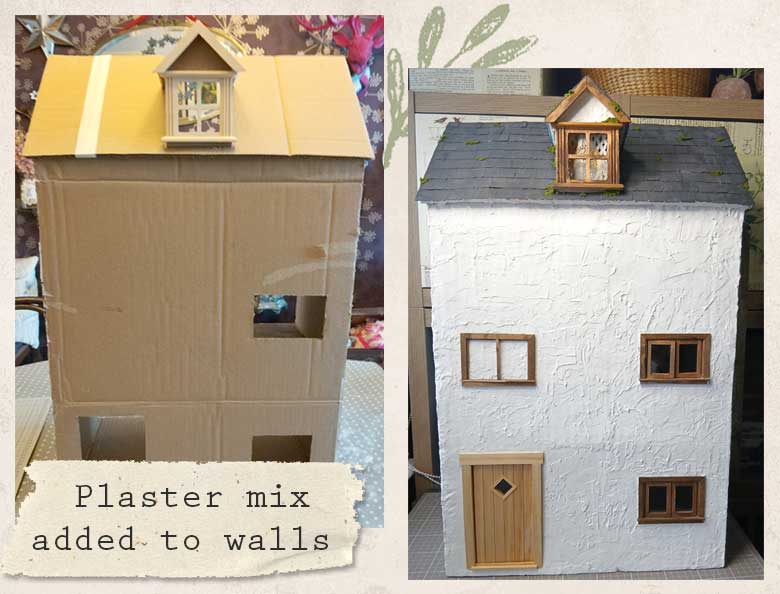
To ensure my witches dolls house is very robust and will survives for years to come I wanted to coat the outside with a plaster effect. I started with and initial layer of 50% pva glue and 50% ready mixed wall filler, mix both together until they are smooth and there are no lumps. I applied a thin coat with an old brush all over the outside and the inside of the dolls house. Applying it to both the inside and outside ensures your house will not warp.
Once this initial coat was completely dry, I left it over night. I then mixed a thicker mixture of 20% pva glue and 80% wall filler and spread this all over the outside of the house. I used a palette knife as I wanted a thick layer. I also applied it to the ceilings and any wall I did not intend to wallpaper.