-
Creating a Realistic Plaster Effect
How to mix and apply dolls house plaster.
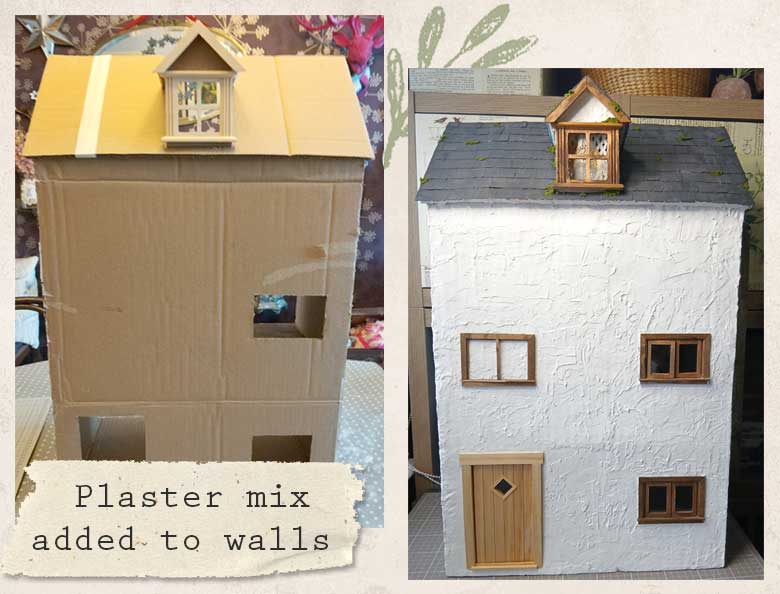
To ensure my witches dolls house is very robust and will survives for years to come I wanted to coat the outside with a plaster effect. I started with and initial layer of 50% pva glue and 50% ready mixed wall filler, mix both together until they are smooth and there are no lumps. I applied a thin coat with an old brush all over the outside and the inside of the dolls house. Applying it to both the inside and outside ensures your house will not warp.
Once this initial coat was completely dry, I left it over night. I then mixed a thicker mixture of 20% pva glue and 80% wall filler and spread this all over the outside of the house. I used a palette knife as I wanted a thick layer. I also applied it to the ceilings and any wall I did not intend to wallpaper.

-
Adding Wooden Beams
I wanted to add some extra details to the attic bedroom ceiling so I added wooden beams. This both added extra interest to the ceiling and also reinforced the roof ready for when I add the card slate effect roof tiles.
I used square wooden doweling which I bought from a local diy store. I cut it to size and wittled all along the edges to make the wood look worn and old. I stained them with dark oak wood stain to match the wooden floors and glued them in place with wood glue. I left them over night to dry in place. This created a lovely solid roof.
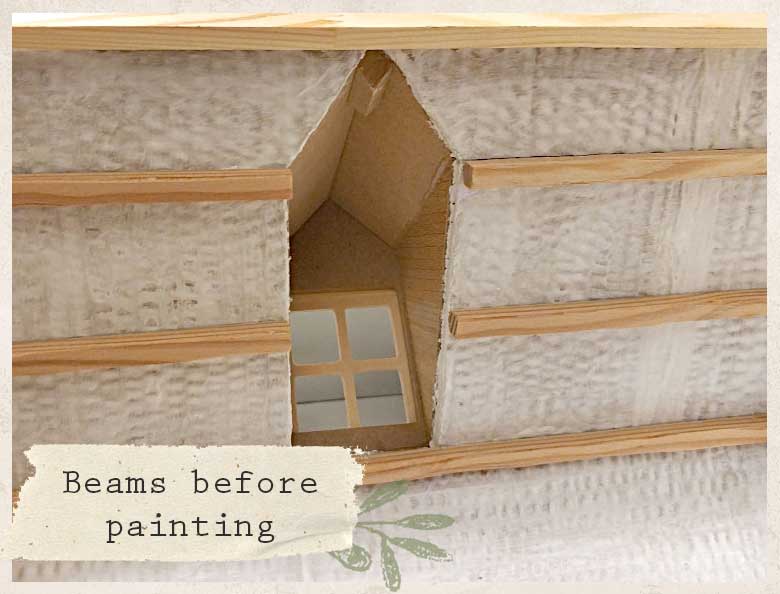

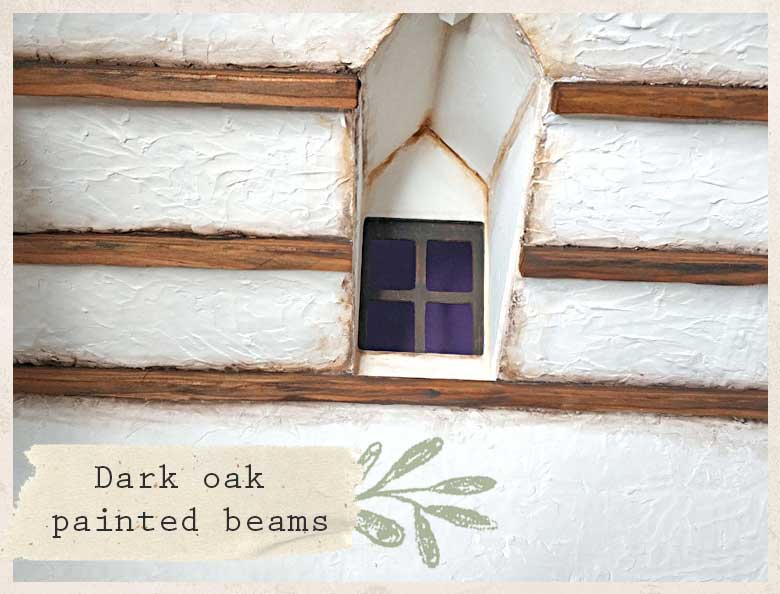
I aged the plaster ceiling around the beams with watered down burnt umber acrylic paint so they looked like they had been there for centuries.
-
Installing The Wooden Floors
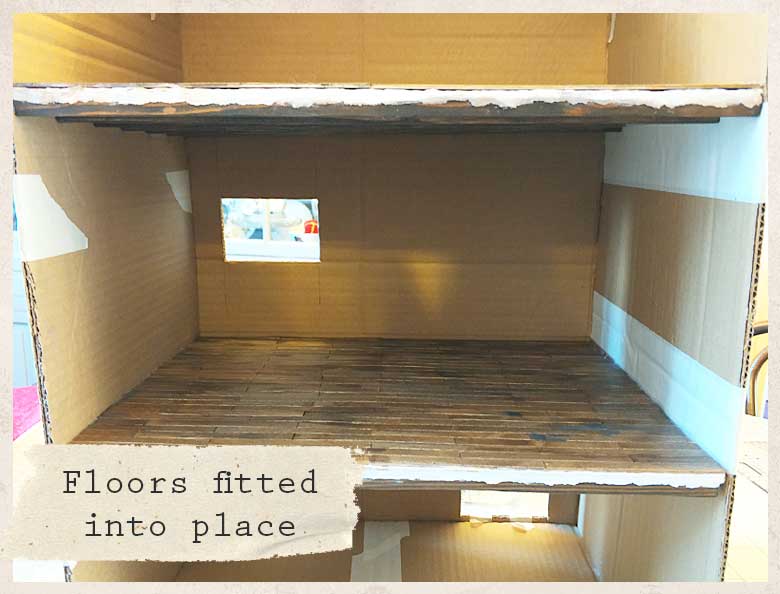
Once the lollipop stick floors were dry, I positioned them into place and glued them with wood glue. The front edges needed to be neated so I filled them with ready mixed filler to resemble plaster. I then aged them with watered down burnt umber acrylic paint as I wanted them to look old and worn. The floors are supported underneath with small wooden beams.
-
Cardboard Witches Cottage
How to design and build a cardboard dolls House.
I was inspired to build a cardboard dolls house by Ara at Bentley House Minis on Youtube. I wanted to build a witches country cottage complete with garden and greenhouse. I am going for a wonky plaster covered cottage with no straight lines just rustic charm.
I started by sketching out a basic design, I wanted to keep the main structure it simple with just three main rooms, a kitchen downstairs then on the first floor a living room and a bedroom in the attic. I intend to add onto this house over time but I thought this was a good starting design.
I started by gluing two large pieces of cardboard together with the grain in opposite directions for strength. I left it to completely dry weighted under heavy books to reduce warping. Once the cardboard was dry I started to cut out the walls, floor and roof.
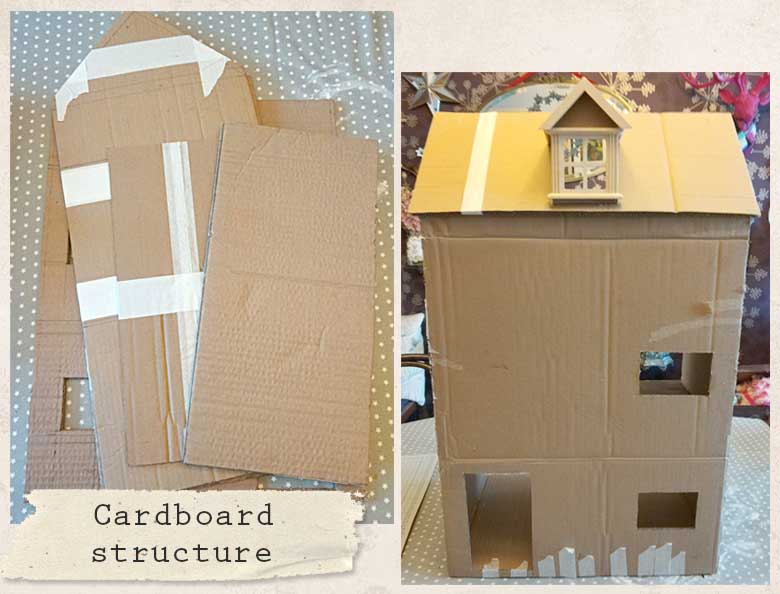
I set the walls and roof pieces aside to work on the floors first. I wanted a slate effect floor in the kitchen and wooden floorboards in the bedroom and living room. I decided to make the floors first as it is easier to work on them before they are in the house.
The Kitchen Floor.
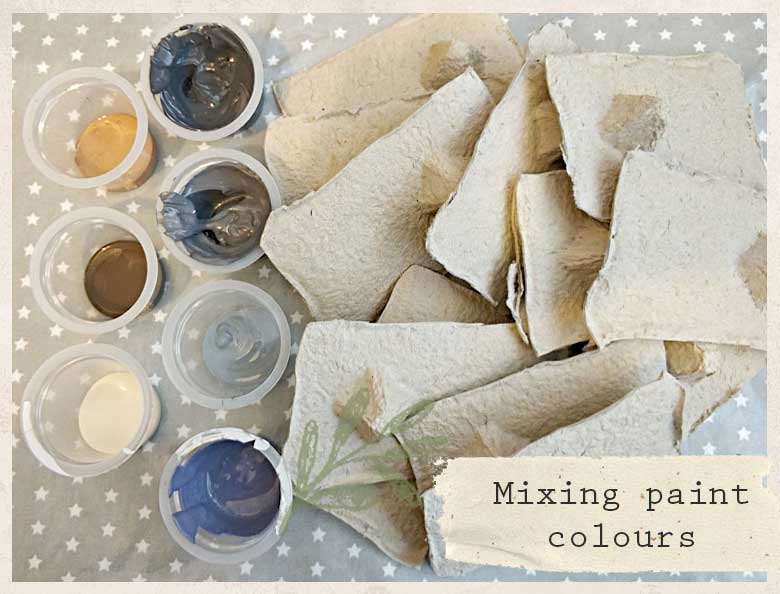
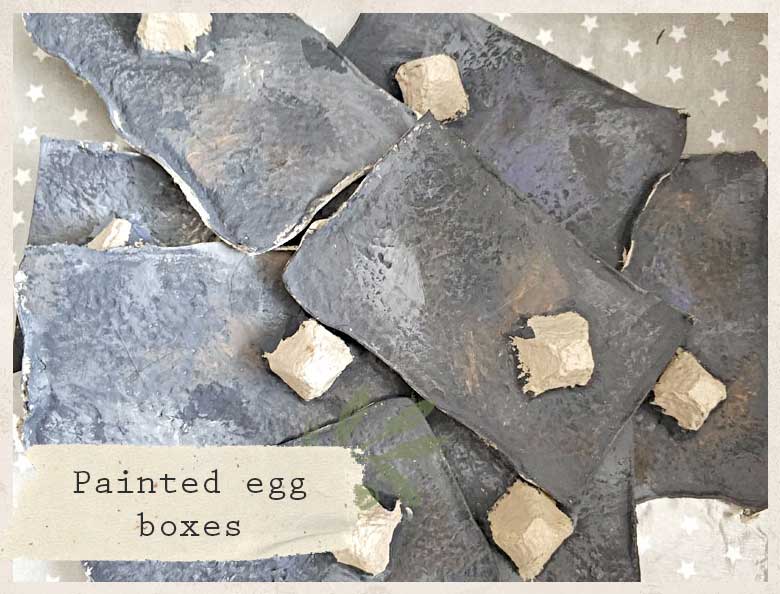
I made the floor tiles from egg boxes as the texture was perfect for a stone floor. I prepped the egg boxes by painting them in shades of grey, grey/blue, brown, beige and cream. I painted them totally randomly without really thinking about it. The cream and light grey I dry brushed on to reveal the lovely texture.
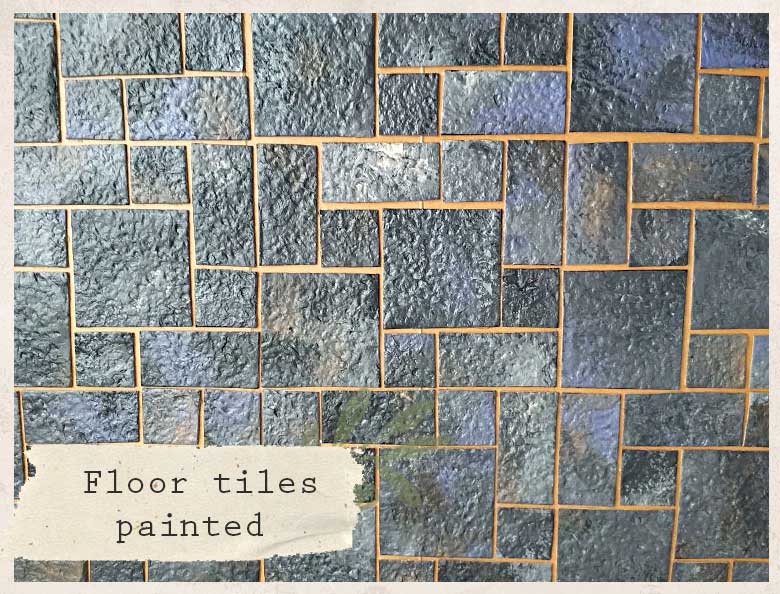
I thought it would make my life easier if I created a template of the repeat pattern for the floor tiles rather than trying to make the tiles fit the floor space as I went along. I created three different sized tiles in 1:12th scale a large one, small one and a long tile and made a pattern which could be repeated over the whole floor. If you would like to download my floor tile pattern template simply click on the download button below.
I glued the tiles down with wood glue for a good contact and adhersion. Once the glue was dry I covered all the tiles with mod podge to seal them in. This was an very important step as I intended to grout the tiles with poly filler and I wanted to be able to wipe off the excess grout without damaging my tiles.
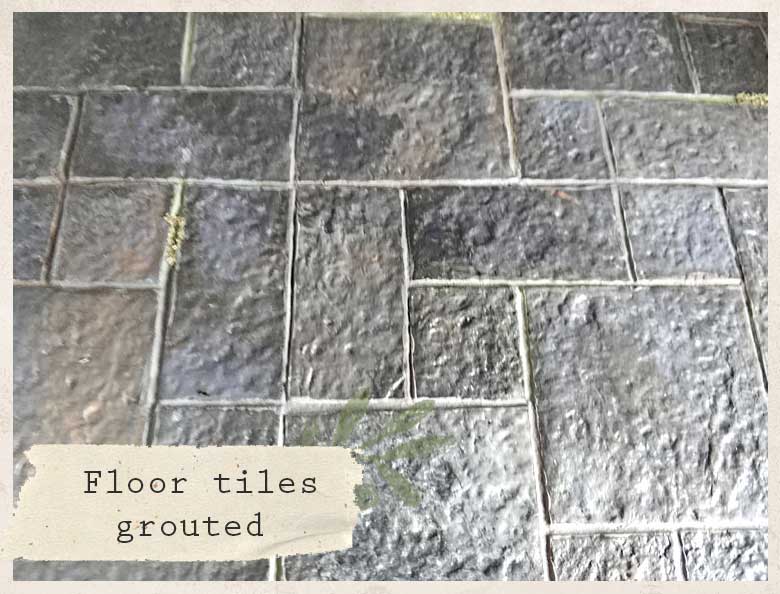
The grout was applied with a small palette knife and the excess wiped off with a damp cloth, once it was dry I painted it light grey and aged it up wth moss green paint and moss flocking.
I am so pleased with this floor it turned out just as I had hoped. In the next post I will show how I made the wooden floors for the bedroom and living room.
-
Painting Lundby Frames
How to Paint Plastic Frames.
The plastic frames on my Lundby tower did not match some had yellowed some were brown so I have been updating them to match and I am finally happy with the results.
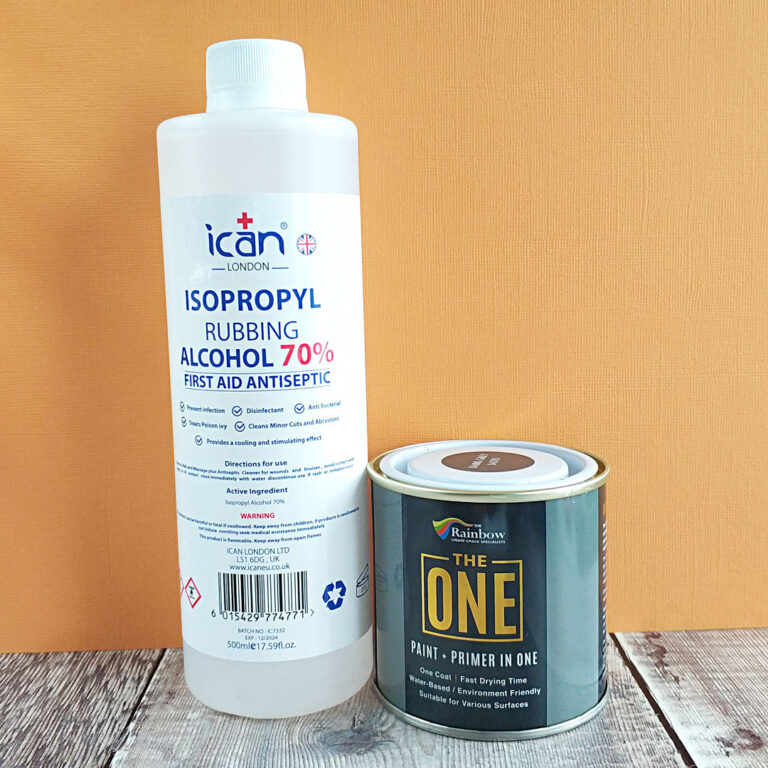
The tower is made up of a house and three extensions. I decided to paint all the frames using a paint suitable for plastic called The One in a dark grey colour. I cleaned the frames with isopropyl rubbing alcohol first and then started to paint. It took five coats to get an even colour due to the frames all being different colours.
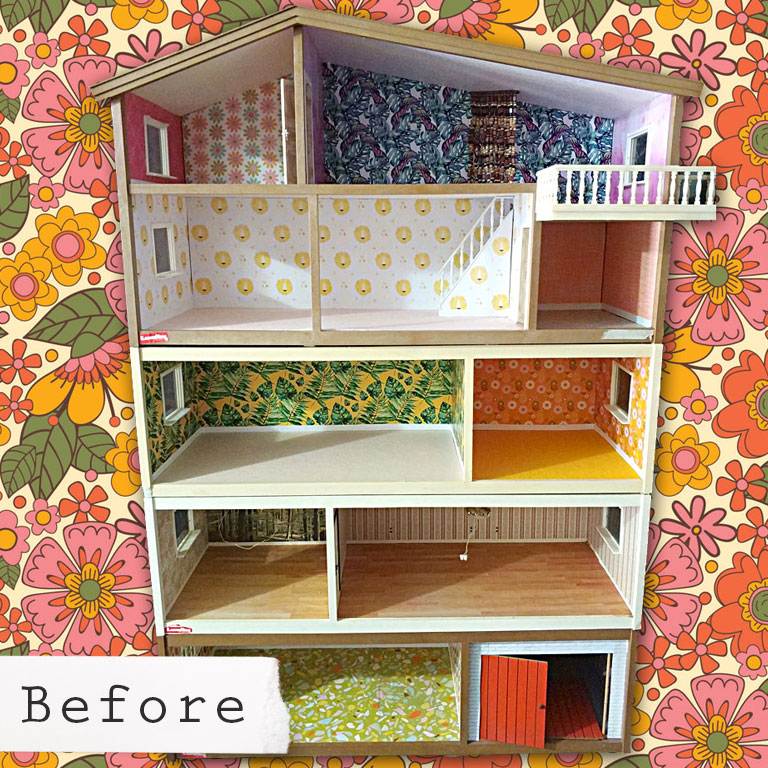
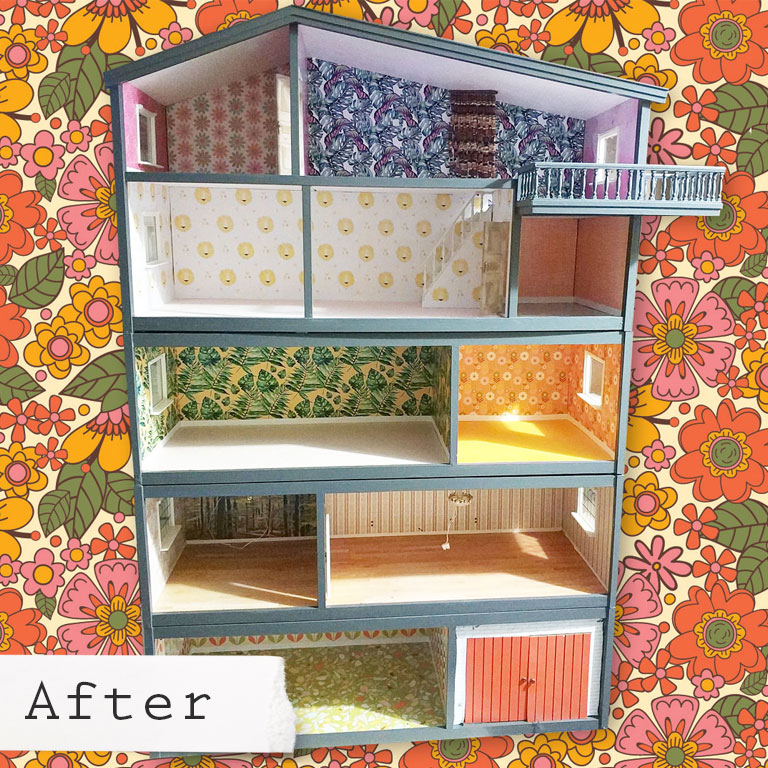
If you would like to have a go at painting the plastic frame on your Lundby Dolls House here is how I did it together with a list of the materials I used.
Materials
- The One Paint in Dark Grey
- Isopropyl Alcohol
- Two Soft Cloths
- Paint Brush
- Painters Masking Tape or Post It Notes
Instructions
Wipe the frames with a clean soft cloth, I used a piece of an old t shirt. Once it is dust free wipe it over with another clean cloth and the isopropyl alcohol to remove any dirt or grease. This give a good surface for the paint to hold to.
Once the surface is dry it is time to begin painting the frames. I masked off the carpets with painters tape as I didn’t want to get any paint on them. I didn’t mask the walls as I will be redecorating my house but if you want to protect your wallpaper it maybe better to mask them off with either painters tape or post it notes.
I found it gave an even coverage if I did thin coats of paint and ensured it was fully dry between layers. I used a flat brush for most areas and a small round brush for the balcony. In total I did five layers of paint.
I have included for reference an image of the paint I used together with the isopropyl alcohol.